Total Pageviews

Tuesday, June 30, 2015

Doheny State Beach Junior Ranger Program

Last week my daughters and I drove to Doheny State Beach for four days in the morning for the
Junior Ranger Program with Ranger Vicki. It was so much fun! We met our homeschooling friends there and we enjoyed learning, playing and having fun in the sand, sun and waves with friends.

We had finished the Ocean Commotion monthly unit with Mother Goose Time, so the girls were ready to go out and see the ocean for themselves. We had learned about shark eggs, kelp and ocean creature and seascapes during our studies. It was so much fun for the girls to explore the ocean with their friends under the guidance of Ranger Vicki.

Junior Ranger Program Agenda


Day 1, Monday

Ranger Vicki lead the program we attended. She is a great teacher, and the kids really enjoyed her. On the first day the kids got an overview of types of creatures in the ocean. She had photographs and real creatures for the kids to look at, such as shark eggs, kelp and other sea creatures. She gave each child a Junior Ranger Logbook and Junior Ranger badge! The kids loved it.

After they finish 10 visits they can earn a patch, which they can put on a scouting uniform. My daughter is in American Heritage Girls, so after she finishes 10 visits, she can put her patch on the back of her uniform.

Day 2, Tuesday


 The children studied the ocean animals. We headed out to the beach with kiddy microscopes. The children loved saving a real dragonfly and bee that had been injured.

They also loved seeing the swallow flying around us. They make their mud nests under the bridge we had walked on to get there.

The children also saw lots of other sea creatures. Kelp had been washed up onto the beach everywhere. I'm looking forward to having the kids get into their Nature Detectives Mother Goose Time theme for next month. I think we can refer to this visit during our studies at home.


Ranger Vicki shows the children the creatures by the ocean....


Day 3, Wednesday

We got to see the visitor's center on the third day. Here are pics from our visit. We met Ken, the man who caught the fish in the visitor's center! He just happened to be there when we were. He said they go out deep in the ocean to get the fish.


 There is a butterfly garden outside, too.


Day 4, Arts and Crafts

On the fourth day the kids created sea turtles. We discussed all that we had learned during the week.


When the girls got home we talked about our trip and they worked on their Junior Ranger Logbooks. Here is a pic of the Junior Ranger Pledge page.


They have a Junior Lifeguard program for older kids, too. Our little ones aren't ready for that yet. :)

I got in trouble for letting her onto the board, so I wouldn't recommend it.


Helpful Kid Travel Tips for the Doheny State Beach Junior Ranger Program and Beach Visit

  • Parking is usually $15 dollars! People with RV's and campers can camp in the parking lot next to the beach. This would be a fun program for your kids if you are camping there. If you attend the Junior Ranger Program with Ranger Vicki, you do not have to pay for parking, yeah! I'm not sure if that applies to campers, too.
  • You will need to park in the second parking lot to your right after you pass the visitor's center, where everyone else has to pay for parking. :) After you park, you will need to cross a bridge to get to the Camp Fire area, where they hold the program. If you have little ones that run away from you it might be a good idea to bring an athletic stroller, since you will have to walk across a bridge with a sidewalk and cars.
  • After you park keep your lunch, bathing suits and towels in the car. After the program you will enjoy lunch on the beach and the kids can play in the water.
  • Be careful, because when we were there my older daughter and her friends were using their bodies to ride the waves and the lifeguard told them to stop. I guess he was concerned about the 4 foot drop, undertow, surfers, or maybe the rocks. I'm not really sure what he was so freaked out about. I think next time I will bring her a boogie/body board and wetsuit (to the knees). That way she and her friends can ride the waves in a safer way. Her friend did bring a wet suit and boogie board, which was fun for him. The surfers hang out on the bigger waves behind the kids on the boogie boards.


www.MotherGooseTime.com

Thursday, June 18, 2015

Mother Goose Time - Learning About Gardens Art and Play

Take a look at this calendar for our month, Growing Gardens...

 
Each number is for a new day, and activities that go with the Mother Goose Time theme for the month.


It's fun for children to learn through play and art as they learn about gardens.

After creating an art project of a garden and a bunny mask, our 3-year-old daughter loved pretending to eat the carrots, tomatoes and corn that she planted in her own art (used as home-made toy) garden.
She then wanted to eat a real carrot, which was a great way to encourage healthy food choices.


Play Garden Created by our 8-Year-Old Daughter

Art Garden

She decided she did not want to mix her colors to make brown.
(Mother Goose Time provided all of the supplies, except for the paint, glue and tape.)

  • Paint (brown and green or mix colors to make brown, like we did in photos)
  • Egg carton
  • Popsicle sticks
  • Glue
  • Tape (optional)
    Our 8-year-old daughter mixed colors to make brown.
  • Construction paper or cardstock (green, red, yellow, orange)
Instructions:
1. Paint the popsicle sticks green.
2. Paint the egg carton brown
(As you can see our 3-year-old daughter chose not to mix the colors to make brown.)
3. Let it dry while you create the vegetables. Cut out shapes to make corn, tomatoes, carrots, or any vegetables you like.
4. Glue or tape the vegetables to the popsicle sticks.
5. Push the sticks into the egg carton.
6. (Optional) Get out seeds and have the children pretend to plant the seeds in the holes and act out what they would do to help their garden grow.


"Look, mom, I am planting a corn seed. Here is the water and the sun in shining down."

We had already talked about how plants need soil, water, air and sun to grow.


She puts the corn plant she made inside the hole where she had planted the corn seed.

The next part is really fun, because she got our her mask and pretended she was a bunny in the garden. She decided she liked the carrots best. She liked the carrots so much pretending, that she decided she wanted a real carrot.

"Mom, can I please have a REAL carrot?"


Play Garden and Bunny Mask

Bunny Mask Craft

(Mother Goose Time provided all the needed supplies, except for the glue.)

Supplies:
  • Paper plate
  • Scissors
  • Large popsicle stick
  • Black marker
  • Cotton balls
  • White cardstock

Instructions:
1. Cut a circle inside the paper plate.
2. Cut the white cardstock into ear shapes and glue them on.
3. Glue on the cotton balls.
4. Use the black pen to make whiskers.
5. Glue on the large popsicle stick.

Bunny In the Garden Dramatic Play


Use the mask to pretend that you are a bunny in the garden. What vegetable is your favorite?

Yeah, so much fun to learn about gardens while creating art and having fun through play.

After all, the language of children is play.


Here is a fun bunny song I made up for a teacher supply company years ago. (I'm not sure if they are still in business. None of their links work anymore to all the years of work I did. I've already written to them a few times about the problem links and offered to help.)

 Little Bunny Dance by Carol Brooke 

(Sing to the tune of 1, 2 Buckle My Shoe. The children dance to the poem/song.)
         1, 2, Jump little one (Jump up and down like a bunny.)
         3, 4, Pound one foot (Pound one foot like a bunny.)
         5, 6, Wiggle your tail (Wiggle your tail like a bunny.)
         7, 8  Flop your ears (Shake your head back and forth.)
         9, 10 Let's do it again (Repeat.)


www.MotherGooseTime.com
 
Visit Caroline Brooke's TeachersPayTeachers Store!


Wednesday, June 3, 2015

Mother Goose Time- Experience God, The Parable of the Sower

Parable of the Sower Poster and Script


Here is a wonderful Mother Goose Time lesson plan you can use to teach children about the word of God and how we choose to plant it in our lives.

As you can see, (pictured below) the parable of the sower/farmer, illustrates this clearly. Here you will see the front side of the poster, which pictures what is described on the back (pictured below).


The girls loved this parable, and we discussed:
  • Where do you think seeds prefer to grow? Why?
  • What would you do if you were a seed tossed into a pile of rocks?
  • What do you know about weeds?
  • Why are roots important for a plant?
 

We discussed how this relates to our Bible verse.

"But the wisdom that comes from heaven is first of all pure; then peace-loving, considerate, submissive, full of mercy and good fruit, impartial and sincere. Peacemakers who sow in peace reap a harvest of righteousness." - James 3:17-18


The girls enjoyed this prayer, which they glued onto the back of their Bird Crafts.


"Father God, I love you. Please help me to take your words and let them grow strong in my heart. In Jesus' name. Amen."


Bird Craft


Supplies:
  • Card stock or construction paper cut into a bird shape
  • Craft stick (optional, my girls didn't want the craft stick on their birds)
  • Scissors
  • Blue and yellow construction paper
  • Wiggly eyes
  • Glue
  • Markers or crayon
(Mother Goose Time included most of the above supplies.)
 
Note: My younger daughter really wanted a blue bird, so I traced the red bird included onto blue construction paper and glued it onto a recycled file folder to make it stronger.
 
Instructions:
  • Read the Bible verse above and read the prayer.
  • Talk about how special birds are and how the child is even more precious to God.
  • Use the paper and makers or crayons to decorate the bird.
  • Use glue to attach the wiggly eye to the front of the bird and the craft stick to the back of the bird.
  • Write the above prayer on the back of the bird (optional thing we decided to do.)


Growing God's Word Planting and Bible Verse Craft

 
Ask: How can we grow in God?
 
  • Read Joshua 1:8
Keep this Book of the Law always on your lips; meditate on it day and night, so that you may be careful to do everything written in it. Then you will be prosperous and successful.
 
  • Invite children to decorate the outside of their pot.
  • Fill the pot with soil. Make a small hole and plant the seed.
  • Attach the Bible verse sign to the craft stick with glue or tape and put it into the pot.
  • Read the Bible verse and add a small amount of water to the soil.
Our bean seeds grew very quickly!  As you can see here...
The girls took out their seeds. They studied the developing roots, and then planted them again in their pots and watered them.


Mother Goose Time- Planting Seeds and Worm Painting

Planting Seeds

The girls loved learning about planting their own seeds and watching the seeds grow into plants.

This week we learned about soil, seed, sun, water, roots and worms.

Here are some highlights from our week and our favorite lesson plans you can feel free to use, too.
 
Although this lesson has been designed for preschool, this is also exactly what 2nd grade children learn for life cycles of plants! (I was a K-2nd grade teacher.) So, this worked out perfect to use with both of my daughters (ages 3 and 8).
 
Mother Goose Time included the following to help us get started with planting:
  • soil
  • seeds
  • Growing a Garden Observation Record (pictured above)
You will also need:
  • Spray bottle filled with water for daily watering
 We put their little pots right on the breakfast nook table, and every morning the girls loved to water their plants. The grass grew very quickly.
 
We ended up adding the soil and grass seeds to the Experience God (supplemental add-on) pots the girls made that their little beans were growing in.
 
These pots are prettier and the girls had decorated them. So, they have two types of seeds growing in the pot, a bean and grass seed.
 
The sunny garden journals were beautiful! The girls loved sitting in front of their potted plants and writing in their journals.
 
I noticed that our 3-year-old daughter drew a picture that turned out great! For some reason, she was not happy with it, so she scribbled all over it. It seems like that is pretty typical for that age. I've worked with a lot of preschool through kindergarten-age children, and it seems to get better towards the end of Kindergarten.
 
It must be very challenging to develop strong fine motor skills while coloring, and it can be frustrating for young children who are trying to express themselves and get their little hands to create what their minds are thinking.
 
I typically like to hurry and pick up the work my preschooler has completed before she stares at it and decides she doesn't like it, and then proceeds to scribble over the top of it. Her older sister used to rip it up, not just scribble over the top of it. :) Fortunately, it seems that this acting out of frustration ends at just about when they develop stronger fine motor skills.

Worm Painting

 
I was so disgusted when I saw a teacher using real worms for the children to paint! I can't remember if this was for Kindergarten or First Grade. This was years ago. I do know that the teacher had the children gently wash the worms and put them back into the school garden when they were done.  I was surprised to see plastic, very realistic looking worms inside our Mother Goose Time daily lesson plan kit. I was thankful that these were just plastic, and not real. :) Thank you, Mother Goose Time.
 
Here are our worm paintings. The girls dipped the plastic worms into the paint and rolled them onto the paper. The process created interesting patterns. They enjoyed the process of creating their own designs.


After the girls were done with their worm paintings, they decided to wash the plastic, pretend worms and put them into their pots with their growing seeds. They liked to pretend that the worms were making their home inside the pots, next to their growing plants.
 
I'll share more free lesson plans with you soon. Next time, we will learn about watching gardens grow: sprout and stem, leaves, flowers, produce and weeds.
 
I'll also share a fun Mother Goose Time Experience God lesson plan, which is an add-on. This lesson is about the farmer who planted seeds, and how those seeds are like the word of God in our lives... I'll give you the posters and script to read, along with a fun planting activity to illustrate how seeds grow when they are taken care of properly. Where we decide to plant those seeds surely makes a difference in how the seeds grow.


Monday, May 25, 2015

Mother Goose Time - Ocean Exploration Preschool Lesson Plans

Here  are some free ocean exploration lesson plan ideas from Mother Goose Time.

This was our last week of four weeks. The girls absolutely loved learning about the ocean.


The Mother Goose Time activities for this month helped create fun memories for the girls, and I'm sure they will remember many of these activities for years to come.

It also made my life so much easier to have each days activities organized ahead of time in the daily bags, so we can simply open the bags and follow the instructions. It honestly took us longer than a month to complete everything, because there was so much to do!

I love the ocean, especially dolphins and whales.  I almost chose to study dolphins and their echolocation at U.C. Santa Cruz after finishing undergrad. Instead, I studied counseling and teaching. I felt like this month's Mother Goose Time ocean unit really helped me focus more on my love of dolphins and whales, while having fun teaching my daughters, too. I feel like I need to write a children's book about dolphins and whales. I will begin my research for my children's book on our Dolphin Safari fieldtrip, which I will tell you more about towards the end of this post. As you'll see, I planned an amazing adventure for the girls to end our ocean study unit!

This month the girls learned about the ocean, which included:

  • Ocean scape

  • Large sea creatures

  • Small sea creatures

  • Ways to explore the ocean


Our daily activities for the week of ocean exploration consisted of:
  • Diver
  • Shipwreck
  • Fishing Boat
  • Submarine
  • Aquarium

Today, I'll share our favorite three Mother Goose Time preschool ocean lesson plans from our last week with you.


The girls loved the diver, shipwreck and submarine lesson plans!


Diver Mask and Flippers Craft and Dramatic Play


First, the girls made diving masks and flippers. You can create flippers and masks on cardstock. To save money on supplies, you can recycle old file folders to create the flippers and mask, rather than using cardstock.

Mother Goose Time included all the needed supplies (except for tape, scissors and markers) in the activity bag for the day, so we did not need to create any templates for the mask or flippers.

You can see the shape and design of the mask and flippers in the photographs shown, and use this as a guide to create your own templates for the mask and flippers.

Then, trace the template you created onto cardstock or file folders. Because the kids will use the mask and flippers to act out being a diver, it is probably best to use cardstock or an old file folder to create the mask and flippers because construction paper rips too easily.

Supplies:
  • Mask made out of cardstock or an old file folder
  • Flippers made our of cardstock or an old file folder
  • Elastic or yarn
  • Scissors
  • Tape
  • Crayons or Markers
  • Cellophane (optional)
Directions:

Please note that Mother Goose Time created the templates for us. So you can re-create this at home, I am suggesting other options with supplies you probably already have handy. :)

Mask

1. Color the mask template.
2. Glue or tape the cellophane onto the mask (optional).
3. Punch holes on the side and tie on the elastic or yarn to fit around the child's head.

Flippers
1. Color the flippers.
2. Either cut a line across the top of the flipper to fit onto the child's feet, or just tie it on with some yarn.

After the girls created their masks and flippers they acted out being a diver. We discussed breathing under water with an air tank. We also talked about how the mask helps the diver see under water.

Mother Goose Time sent us a beautiful underwater poster and sea creatures. We cut out all the sea creatures and the girls put them onto the underwater scene.

Then, they put on their scuba gear and pretended to go inside the poster and into the underwater scene with all of the ocean animals.

The girls named all off the animals.

"Look mom, a sea turtle!"

"I see an octopus!"


Shipwreck Hideaway Game

Daddy, the girls and I played this game together on Saturday morning. It was so much fun!

This game includes both dramatic play and a board game simultaneously.

We asked the girls what they might find in a shipwreck. They built a shipwreck out of blankets and toys in the room.

We told them to pretend they are small fish and to hide in a shipwreck to avoid
danger, just as real fish do.

"Look! A shark! I am going to hide in the shipwreck!"

As the girls kept themselves busy, we got out the board game.

Mother Goose Time included the board (printed onto poster paper), game cards with fish in different colors and two game pieces (colorful fish that push into suction cups that pop up).

I love the little fish Mother Goose Time included as game pieces. The colorful fish push down onto the suction cups and will pop up. This is a great way to keep a preschool child occupied while they wait for their turn. :)

I like how Mother Goose Time suggests having children explore pretending to be a fish hiding in a shipwreck under blankets, blocks or other toys. That's also a great way to keep the children busy until they wait for their turn.

Instructions:
1. During their turn, each child turns over a card with a colorful fish (purple, green, orange or pink) on it.
2. The child moves their game piece fish onto the corresponding color circle (purple, green, orange or pink) on the game board.
3. The child who gets to the shipwreck first wins.

How to Create a Shipwreck Hideaway Game at Home


You probably already have most of these supplies on hand...

To create a similar board game at home or for your classroom children, you could draw a shipwreck onto posterboard or large white paper and have the children color it.

You can trace over each circle with a different color leading up to the shipwreck.

For the game pieces, you could use fish crackers.

For the cards, you can draw colorful fish onto small pieces of paper, or you could put pom poms into a bag with colors that correspond with the circles on the game board.

Submarine Window Collage Craft

We talked about what you might see from a submarine window. We looked at a picture of a submarine.

Submarine windows are usually round and are called a porthole.

Supplies:
  • Paper plates (two for each child)
  • Cellophane (optional)
  • Ocean photos (optional, the children can draw sea creatures, if needed.)
  • Markers, crayons or paint
  • Seashells (optional)
  • Glue
  • Scissors
  • Tape
Instructions:

1. Children decorate the plate to look like what they would see while looking out a porthole.
2. Help the child cut out the center of the second plate to frame the artwork, so it looks like a porthole.
3. Listen to what the child has to say about their porthole scene.

Our Ocean Exploration Real-Life Ocean Safari


http://www.dolphinsafari.com/
We are looking forward to our big field trip to end our studies about the ocean!

I found a Groupon deal for a dolphin safari and whale watching day trip with Captain Dave's Dolphin and Whale Watching Safari!

It was only $40 for our family of four, which would usually be close to $200!

You can enjoy learning more about the whales and dolphins on their website.

Here are some fun videos to watch with children that show dolphins and whales in the ocean (scroll down). They also have a children's book available.

You will love the drone video Captain Dave made on this website! He took the drone out and got amazing video of a mommy whale and her baby!

We'll post our ocean adventures from Captain Dave's Dolphin and Whale Watching Safari soon!


Our Next Mother Goose Time Adventure


Our adventure with Mother Goose Time this month is Growing Gardens!

We've got big plans! We'll be planting a garden, watching the garden grow, learning about vegetables and our garden visitors.

Our adventures will include getting real butterflies to raise and creating a greenhouse of our own!


Friday, May 22, 2015

Mother Goose Time- Small Sea Creatures Preschool Lesson Plans

Here's some free Mother Goose Time lesson plan ideas that preschool through elementary-age children will love.


Each day of the week, we learned about each of the following:
  • plankton and jellyfish
  • sea star
  • seahorse
  • sea sponge
  • x-ray fish

There was a lot to do for each day, which we can't cover all here, but I'll share our favorites with you.

Jellyfish Hat Craft and Dramatic Play


My daughters loved acting out being a jellyfish. They had a lot of fun with the dramatic play. Their dad was stung by a jellyfish once, so the topic was interesting to them.

Here's a picture of the lesson plan from the book. Mother Goose Time provided all of the above supplies, except for the tape. It's such a great time saver to have all of the supplies in the bag each day! Every once in a while, I just need to use some of our own glue, tape or paint. Most other supplies are included.

Supplies:
  • photograph of a jellyfish
  • shower cap
  • tape
  • curling ribbon (what you use to wrap presents)
The children tape the curling ribbon onto the shower cap, as they look at a photograph of a jellyfish.

Then, the children act out being a jellyfish.

You can also hang the jellyfish craft onto the wall, and the children could swim though the sea looking up at the jellyfish.

"Look, mom. I am swimming under the jellyfish!"


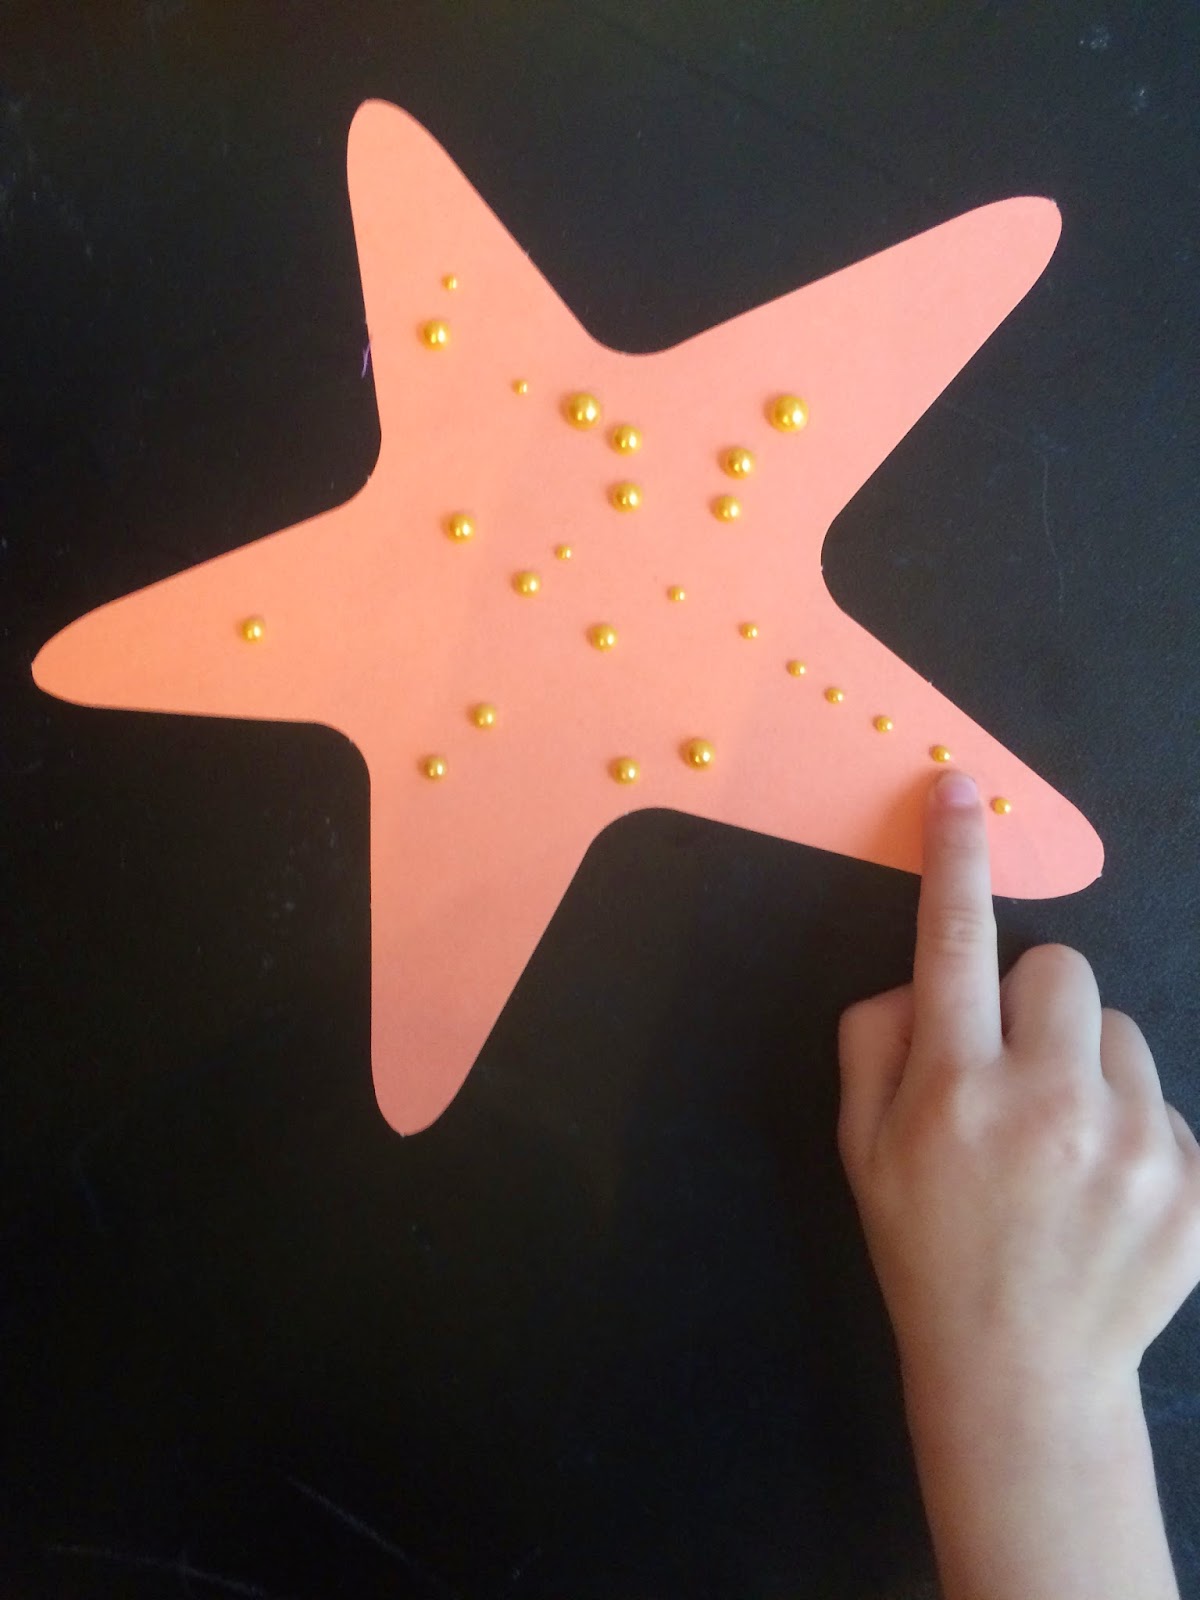
Sea Star Snack and Bumpy Sea Star Craft


This is a photo of our sea star snack. Of course, you could use sunbutter, if needed. We didn't have
rice crispies, so the girls decorated their sea stars with nuts and cranberries.

I didn't have a star cookie cutter, so it took me a couple of times to get the stars right. I just cut two pieces of bread at once and then separated the pieces for each daughter.


This Sea Star Craft was really fun for the girls. It seems so simple, but they loved putting on the bumps and then feeling the sea star. You can also practice counting the legs. We usually count in English and then Spanish. Practicing anything in Spanish pretty much makes it differentiated for my older daughter. That way the older child and younger child are both able to be challenged. I think counting in Spanish is beginning to be too easy for our eight-year-old daughter, so I think I may have her start counting in Italian, too. She can count to 100 in Spanish.


Daddy Seahorse Game

This Mother Goose Time Daddy Seahorse Game is so adorable! My daughters could not wait to show daddy their seahorse game and to play it with him when he got home.


For our younger daughter, we practiced counting the baby seahorses in English, and she also tried Spanish along with her older sister. We said numbers in Spanish for our older daughter, because English was too easy for her. That way it made the game fun for our older daughter, too. Otherwise, it would have been too easy for our older daughter.

Daddy seahorses take care of seahorse babies in their pouch. The girls turned over a number and put in the correct number of seahorses in the daddy seahorse's pouch.


Sponge Stencils

The girls hung their sponge stencils above their desks next to their jellyfish hats. This activity seemed to really relax them. I noticed that some of the ocean photographs in this month's box seemed to have a relaxing effect. Research has shown that fish tanks and ocean scenes tend to relax children. That's also why I chose to put their finished artwork on the wall in front of their desks. I love the colorful photographs Mother Goose Time includes for each day's lessons.

Supplies:
  • Background picture paper (picture of a
    ocean scene)
  • Sea sponge stencils
  • Sponge
  • Paint
  • Glue or tape


X-Ray Fish Handprint Craft

Handprint crafts are so much fun. It would be fun to put together a calendar with all of the handprint crafts we do for the year, and make a calendar for the following year.

Here are the instructions:

Look at their little handprints!

Mother Goose Time packed tons to do into this week! We had so much fun, and we are so excited about our adventures next week!

Next week will be our final week studying Ocean Commotion, and we will be discovering more about ocean exploration.

www.MotherGooseTime.com


Tuesday, May 5, 2015

Mother Goose Time- Whale, Octopus, Dolphin, Shark and Sea Turtle Preschool Lesson Plans


Feel free to use any of these ocean theme (large sea creatures)  Mother Goose Time lesson plans.


Many of the lessons (art, games and songs) can be differentiated for Pre-K through elementary age children.


Ocean Commotion Theme

Our theme for this month is Ocean Commotion. The kids have learned about ocean scape (ocean water, ocean floor, ocean caves & crevices, ocean plants and coral reef). This week the kids learned about large sea creatures (whale, octopus, dolphin, shark and sea turtle). This web shows the curriculum sequence.

 Ocean Animals A to Z Book

We began learning about ocean animals by reading and tracing each alphabet letter in this beautiful book by Leslie Falconer.

This interesting book has beautiful photographs and large letters for the preschooler to trace. It also has a short description of each animal. It incorporates reading and science in a very visual and kinesthetic manner. My daughter had no trouble going all the way through the book in one sitting.

I highly recommend this book. My daughter loved it. I was so impressed that it came in our Mother Goose Time box for the month.

Here are some examples of pages in the book...